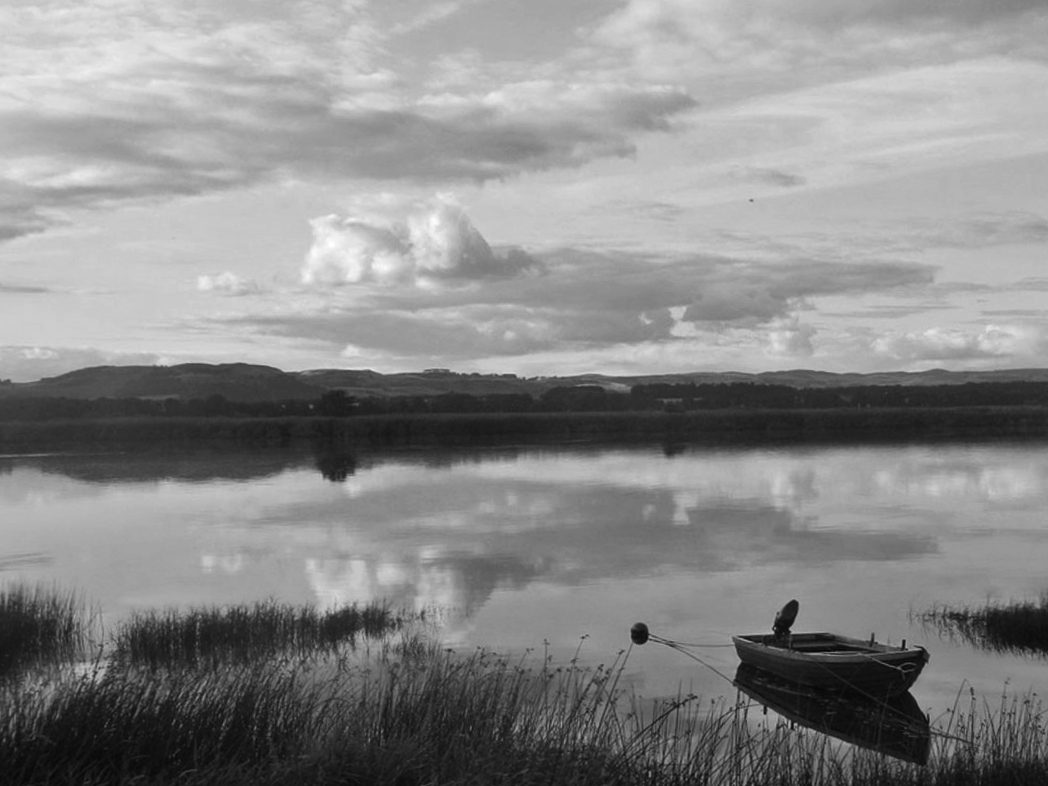
 Photoshop Editing Process: 1- Firstly I increased the contrast to make the dark shadows more prominent, and make the photograph seem more dramatic in black and white.
2- I then added highlights to the photograph to make the cloud reflections stand out more. 3- I then adjusted the rotation of the photograph so that the composition of the mountains in the background was level and straight. 4- Adding highlights made the photograph grainy as it reduced the quality slightly, so I used the blur tool to smooth out any large sections of colour in the photograph which had gone grainy, to make the photograph seem less harsh. 5- Finally I added a black and white filter to the photograph to finish off the editing.
0 Comments
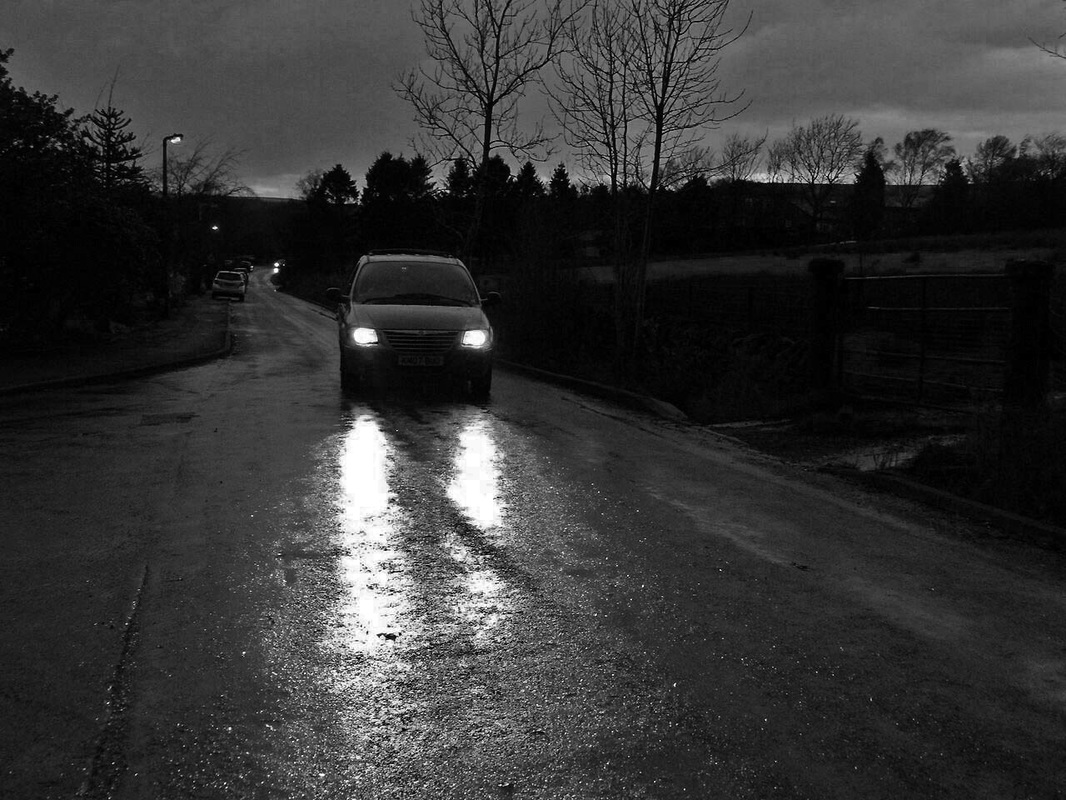 1. Firstly I darkened the photograph to make the outside shadows seem more prominent and create a more stark contrast between the bright reflection of the car's headlights and the shadowed reflections of the objects surrounding it.
2. I then sharpened the photograph to make the tone more harsh. 3. Finally I adjusted the colour balance to make the reflection appear brighter.  Photoshop editing process:
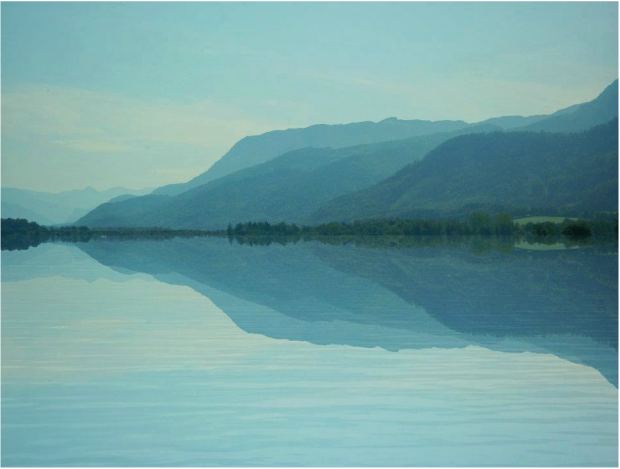
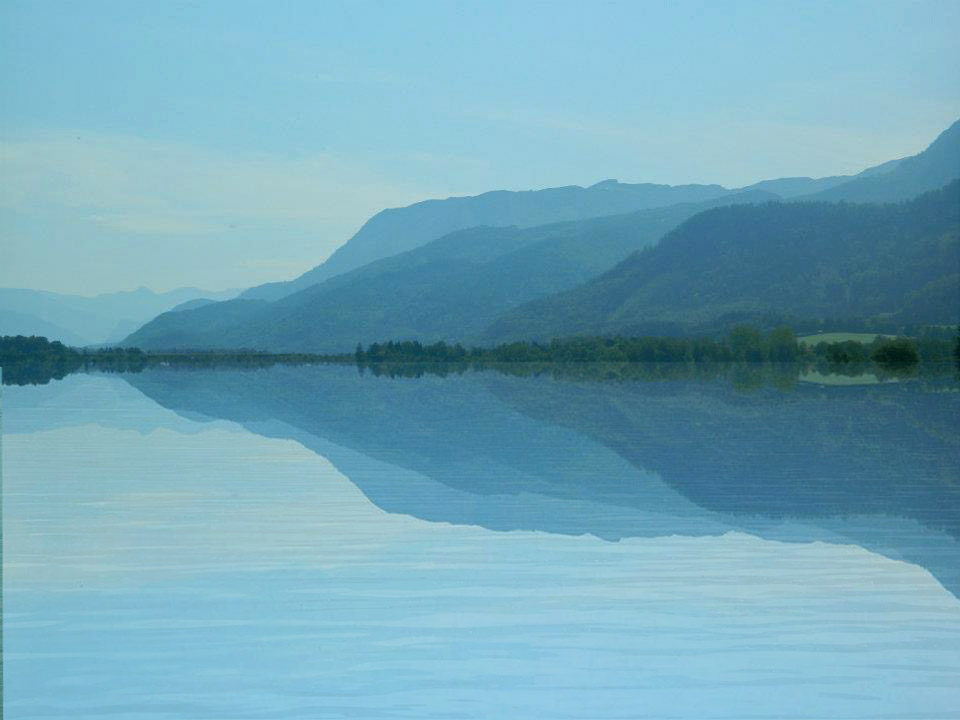
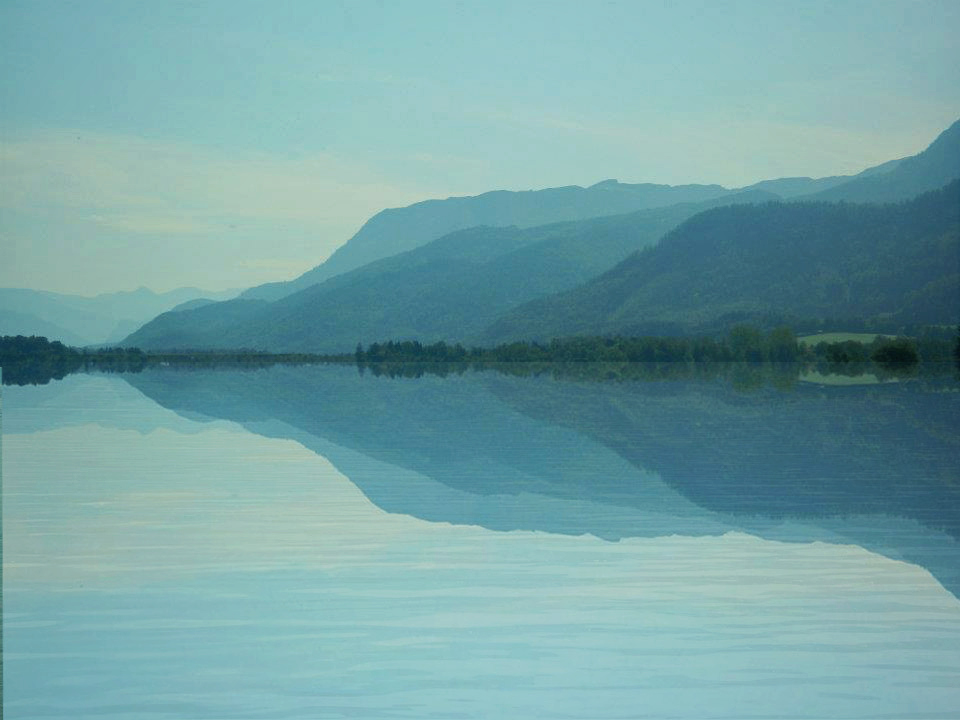
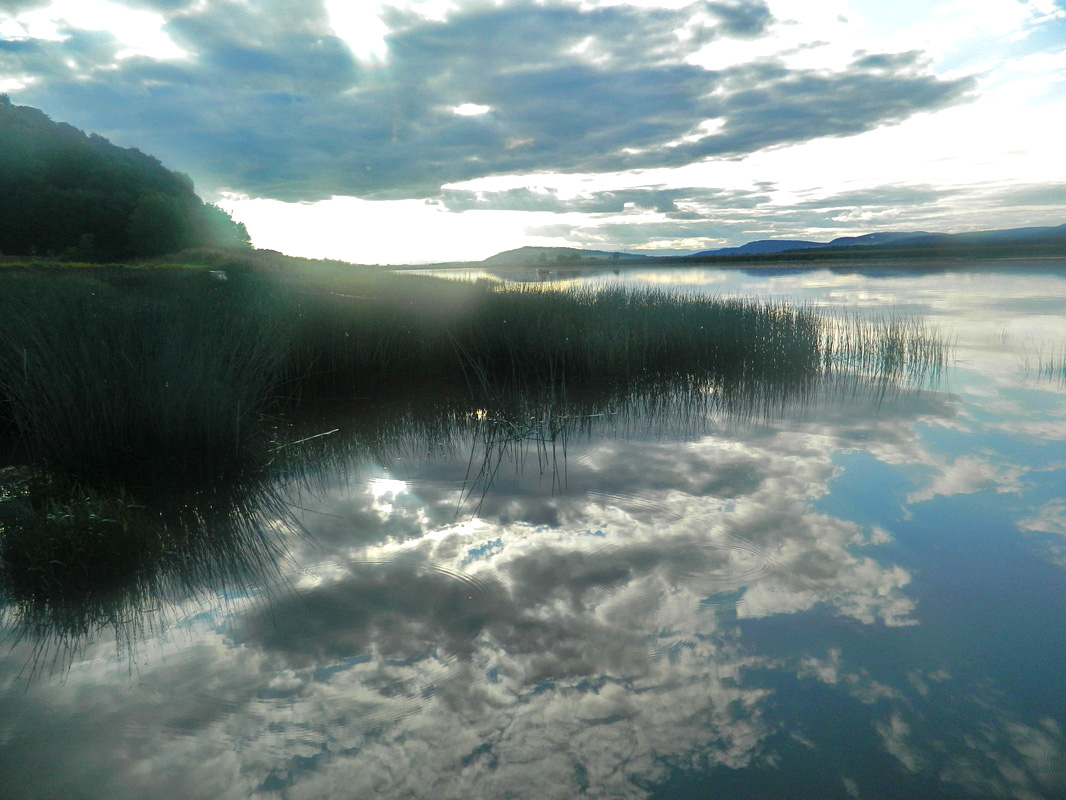
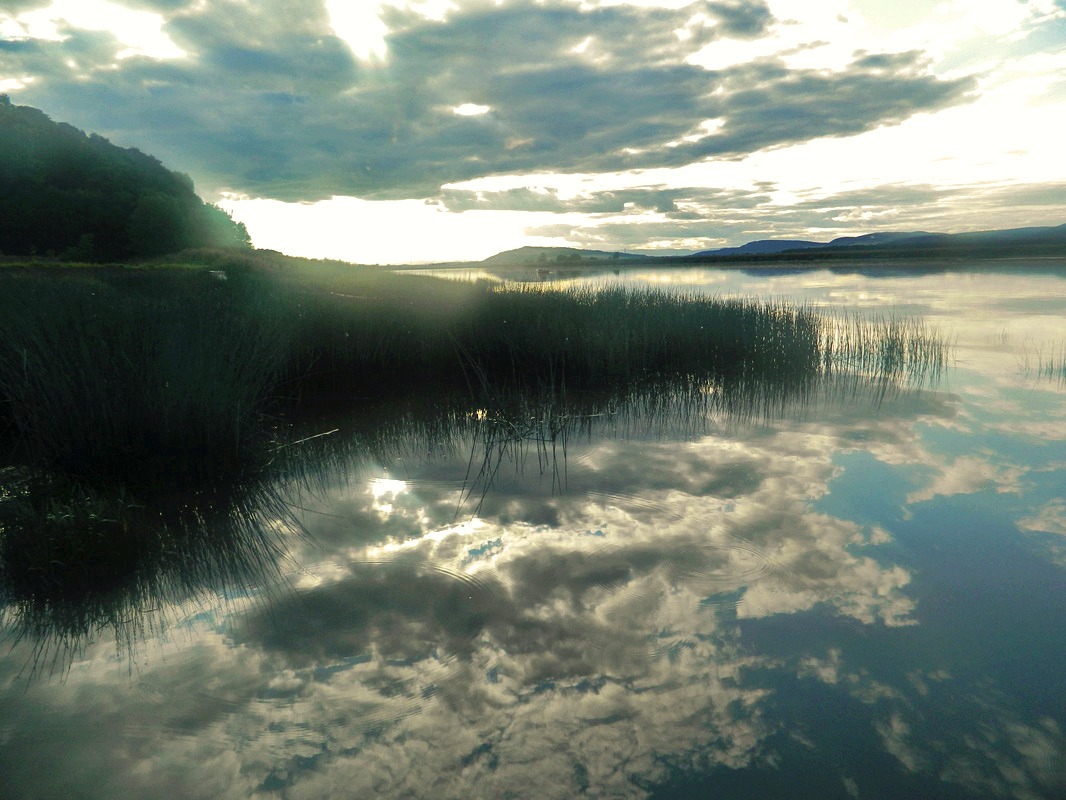
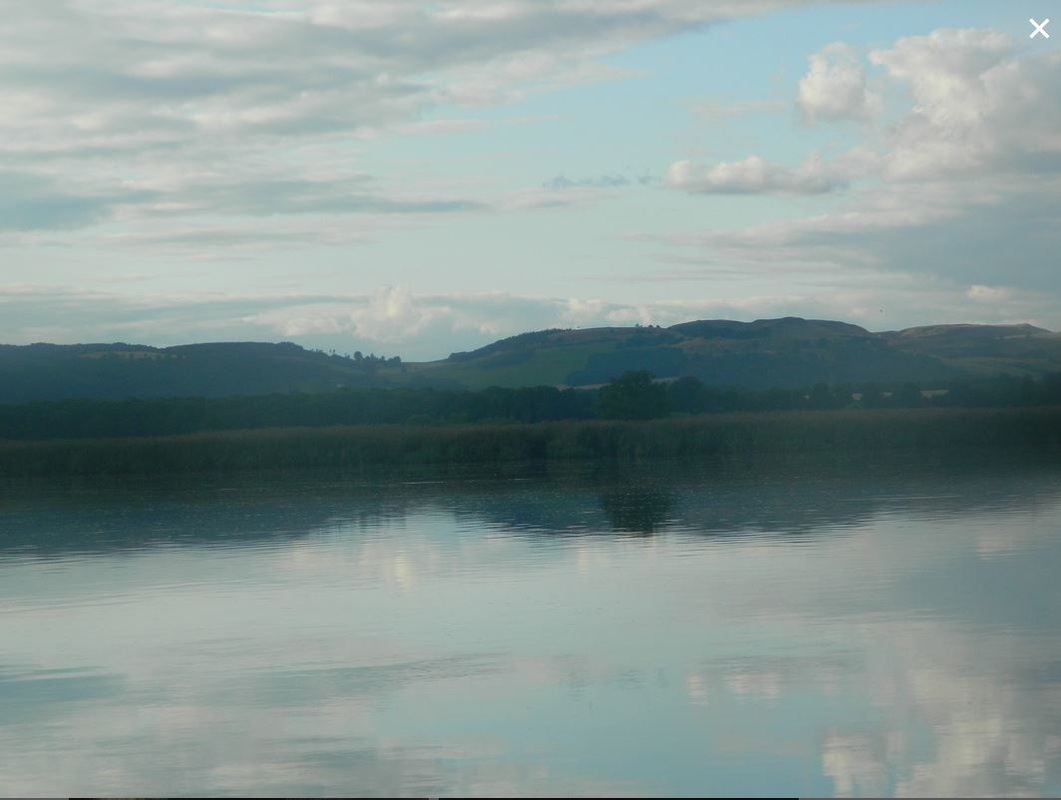
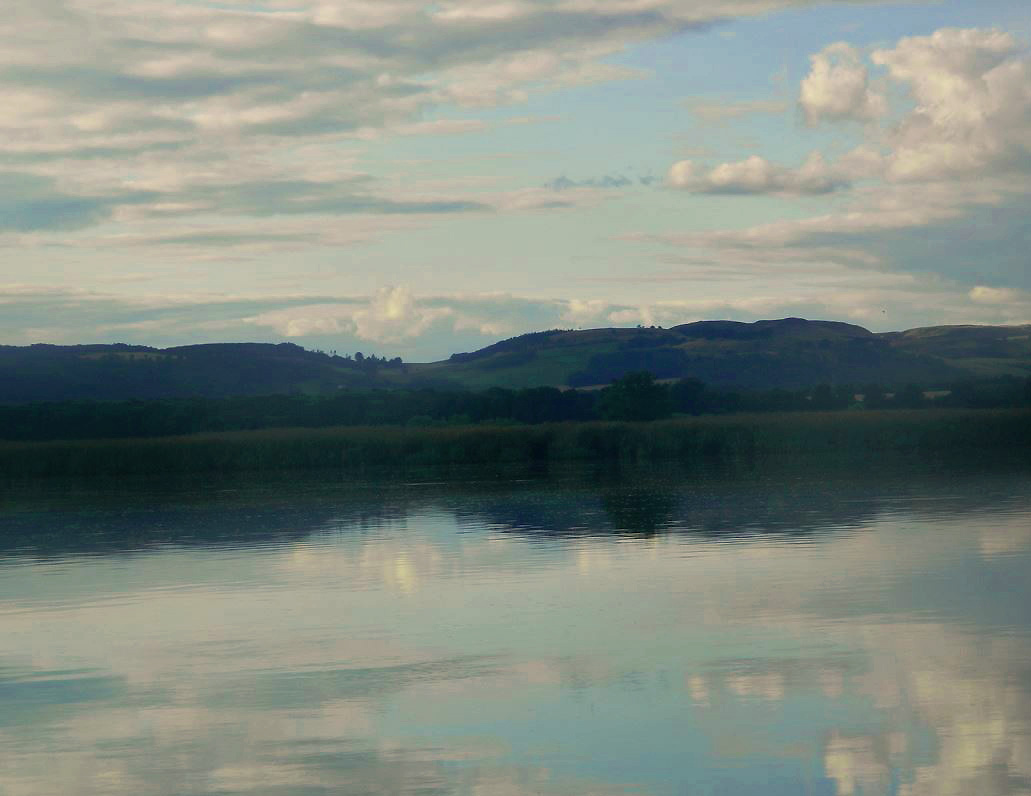
1- Firstly I increased the contrast of the photograph and added highlights to the water to make the reflections more prominent. Increasing the contrast also darkened the darker colours in the photograph to create a contrast between the light and dark parts of the photograph. 2- I then sharpened the photograph and decreased the brightness. 3- To make the tone of the photograph warmer I added yellow and red undertones to the photo using the 'Colour Balance' adjustment option. 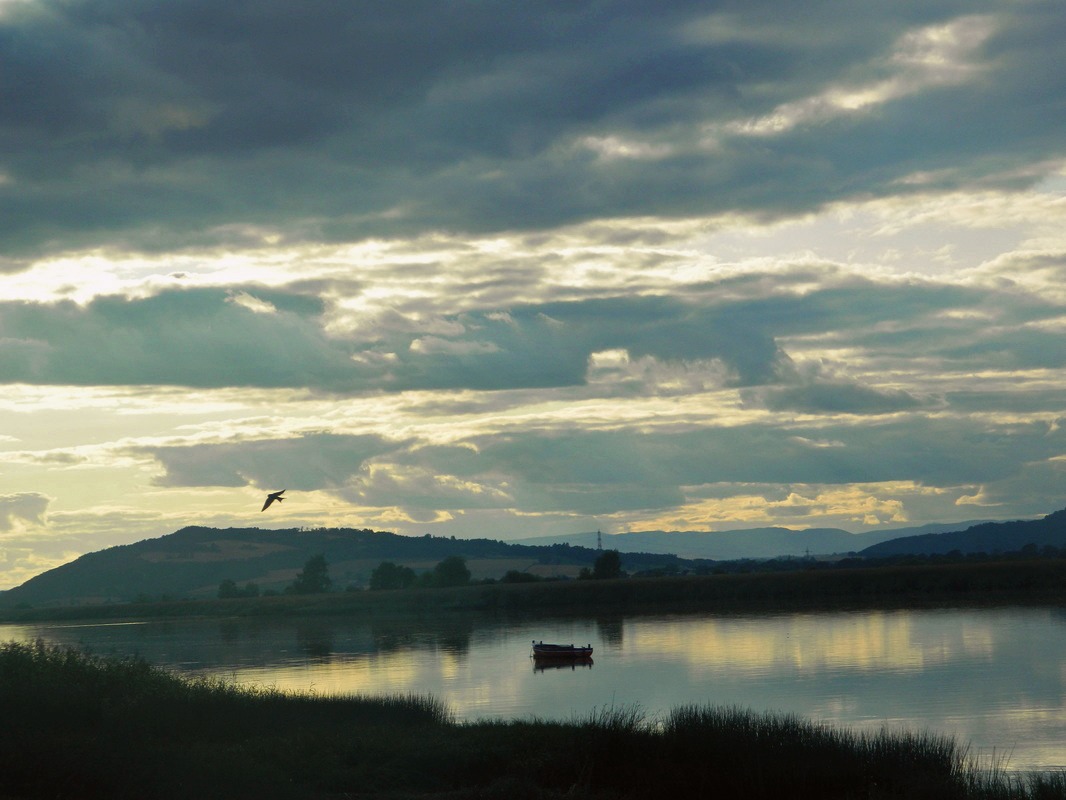 1- I first added highlights to the photograph to make the reflections on the water stand out and make the clouds look darker and more dramatic. 2- I then slightly adjusted the colours to make them more vibrant. 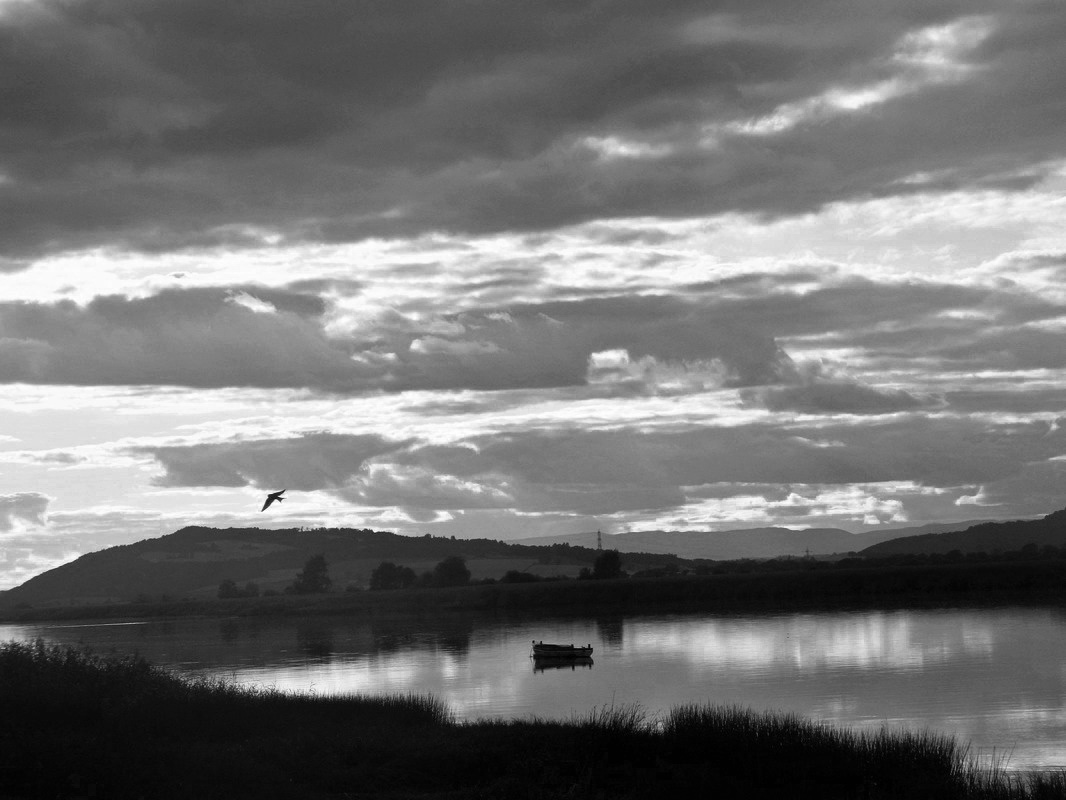 I also experimented by editing the photograph to black and white, to give the sky more depth and make the reflection in the water more prominent. I adjusted the colours (mainly the colours blue, cyan and yellow that are visible in the coloured version) once I had edited the photo to black and white, to create a contrast between the lighter and darker tones in the photograph.
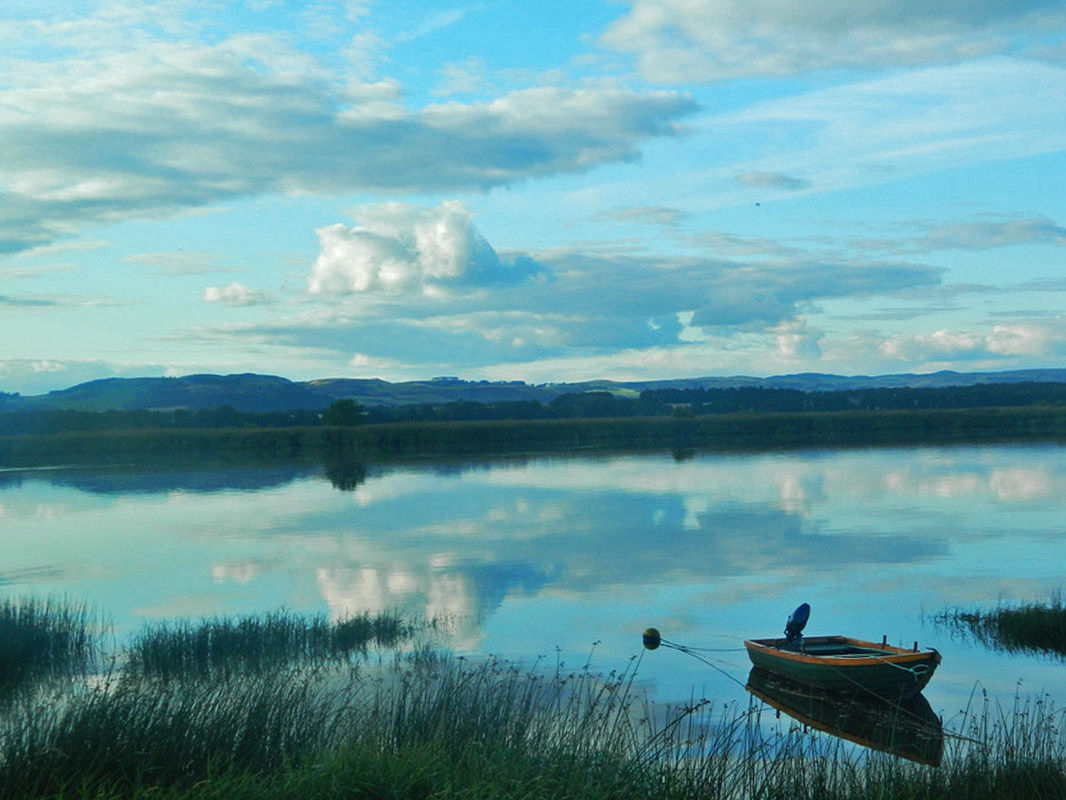
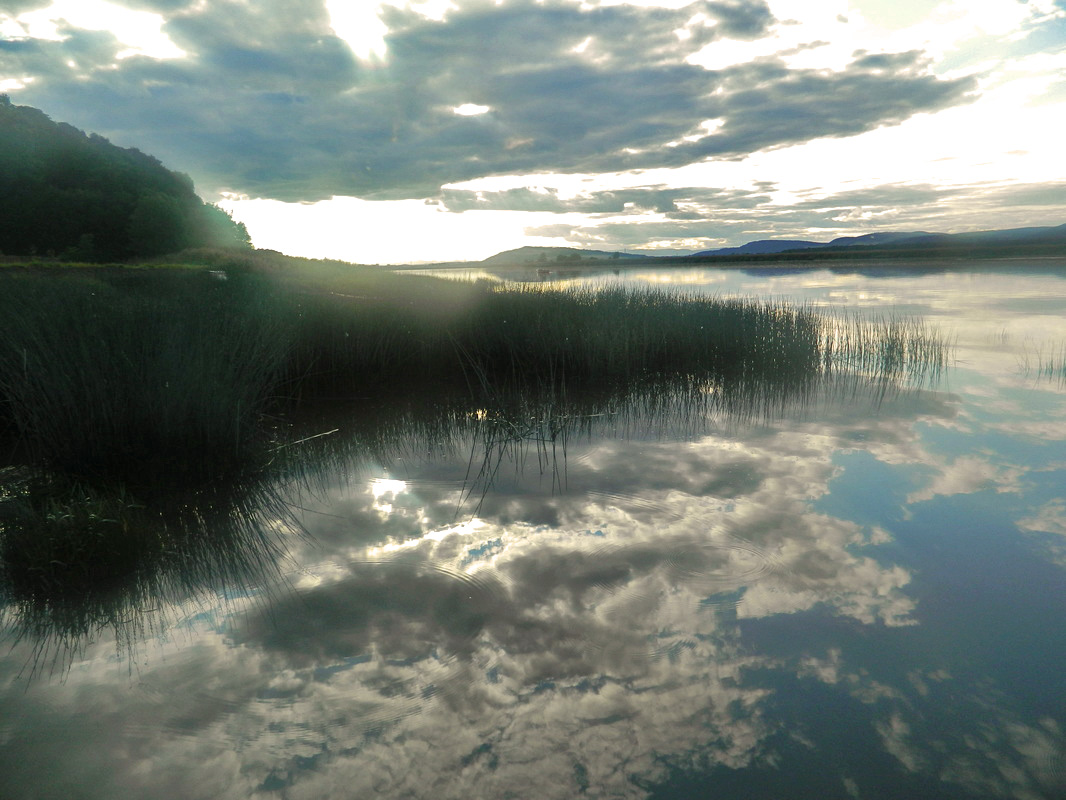
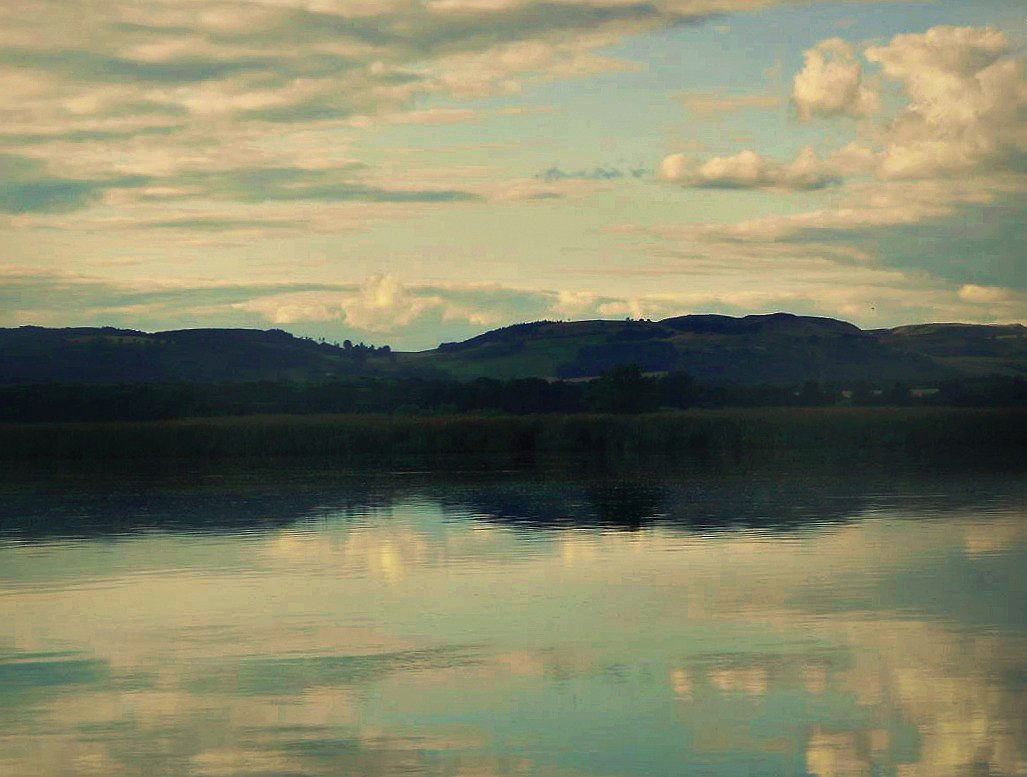
I've decided to use the colour version of the photograph for my final piece as I find the black and white one detracts away from the sky's reflection which is the photograph's main subject matter, while in the coloured photo the blend of warm tones is very clear in the reflection of the water which makes the photograph more interesting.  Photoshop Editing Process: 1- First I added highlights to the photograph to make the reflections clearer and the clouds darker.
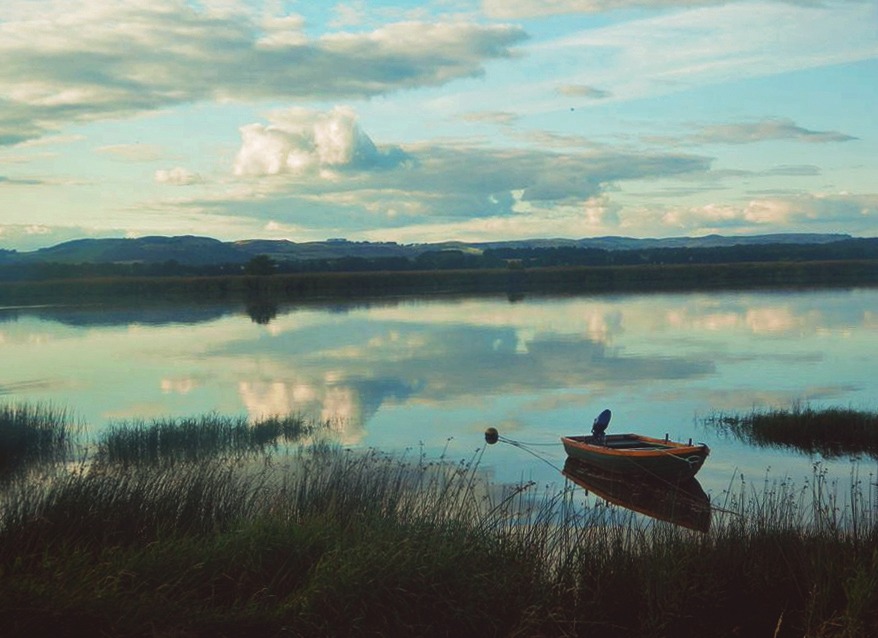
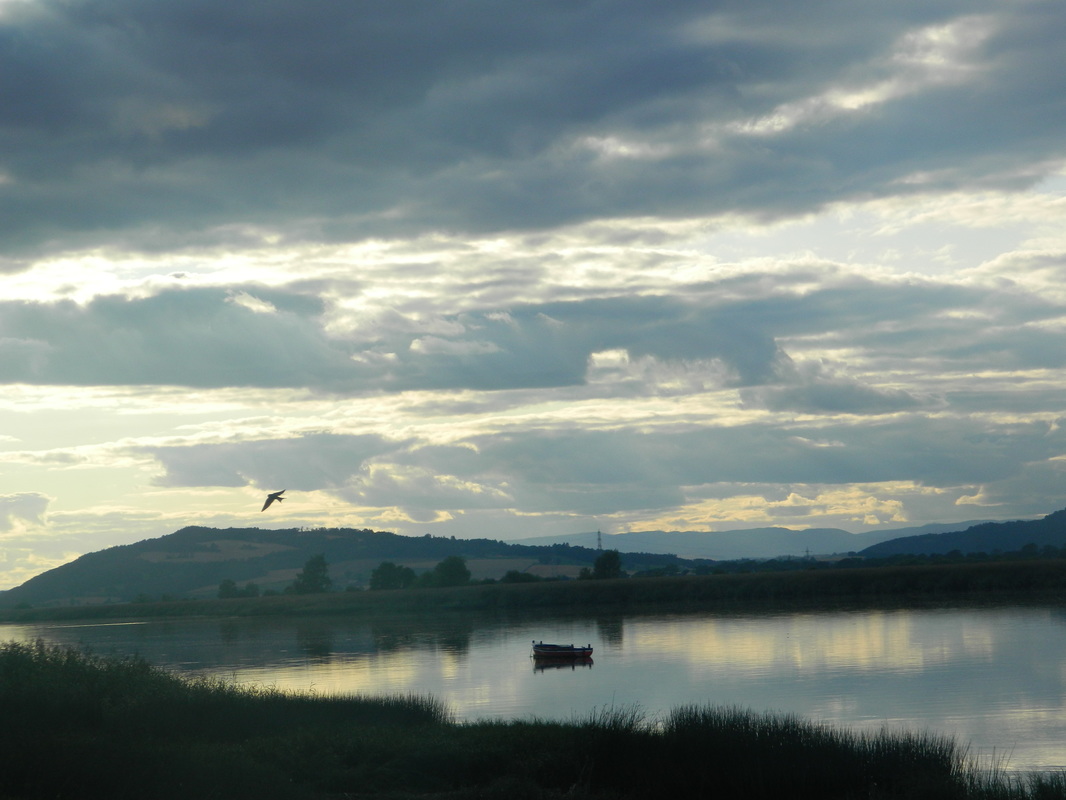
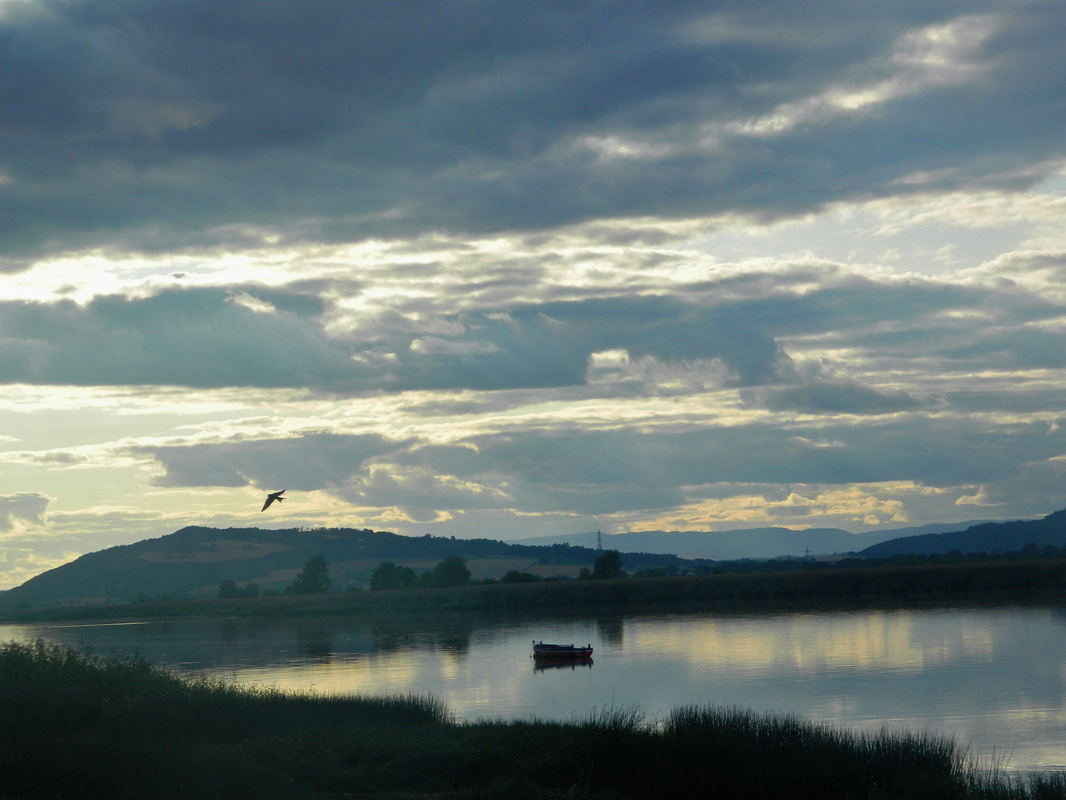
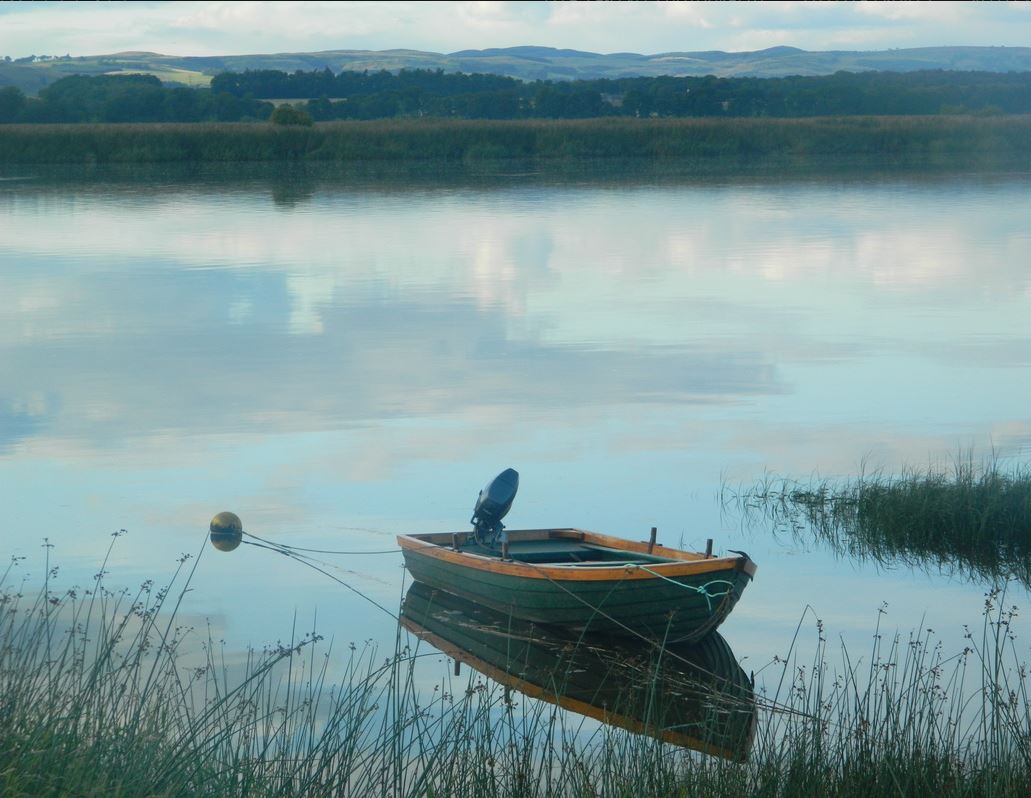
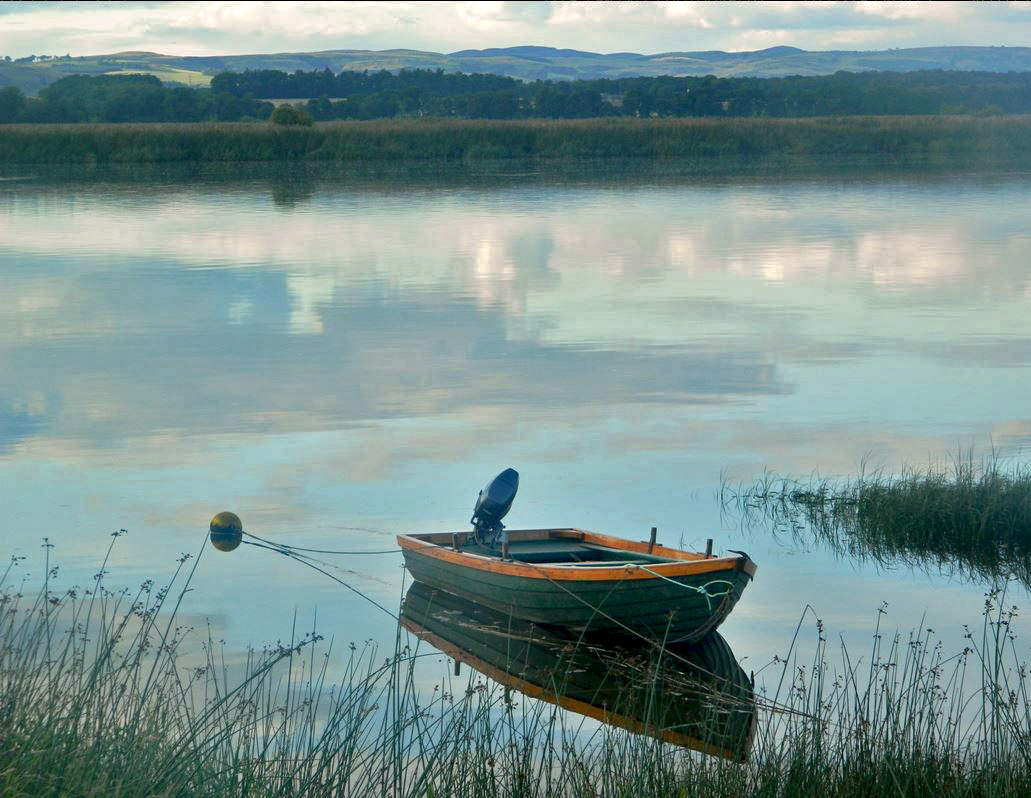
2- I added red undertones.to make the image seem less cold. 3- I then sharped the edges of the photograph and added a filter over the photograph which intensified the colours and added a yellow undertone, making the image warmer and more visually pleasing. 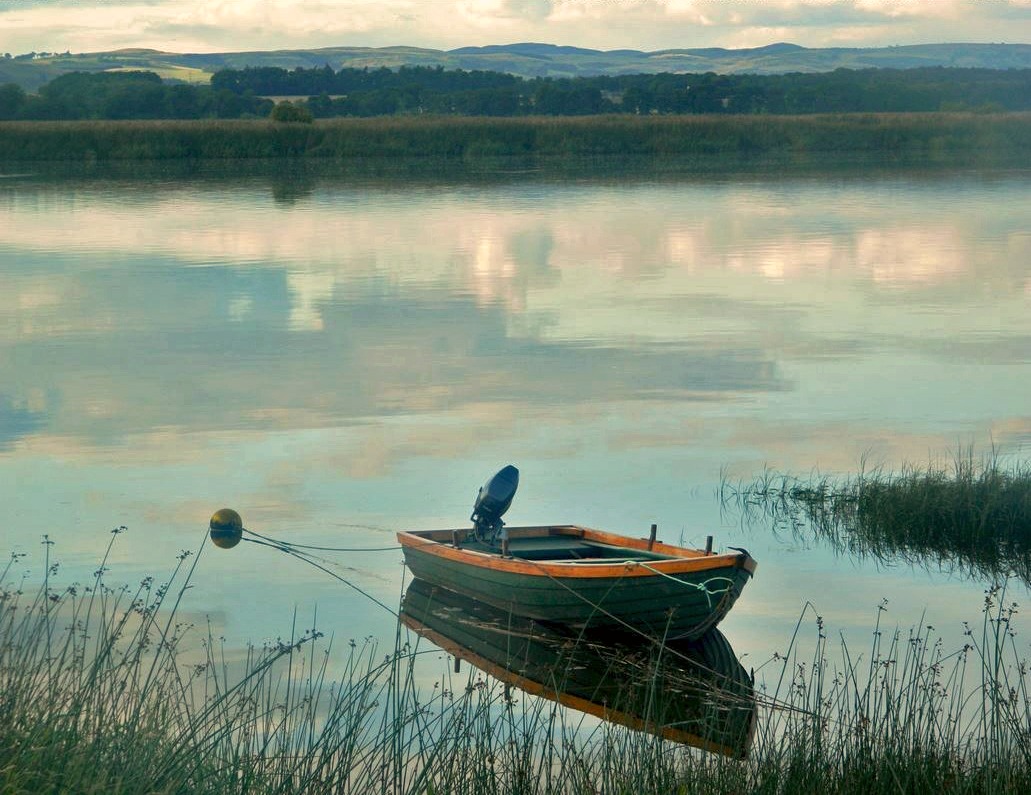 Photoshop Editing Process: 1- First I sharpened the photographs and added highlights to make the water reflections of the boat and the sky clearer and more prominent.
2- Adding shadows and highlights to the photograph reduced the brightness, so I increased the brightness to turn the photograph to its original brightness. 3- I then adjusted the colors on the photograph to highlight the orange outline of the boat. 4- Finally I increased the saturation to give the photographs warmer tones, and added a mixture of the filters yester-colour and cross process to make reflections a softer colour and the photograph more visually pleasing. |
Author
My name's Ella and I'm a 16 year old student studying Photography, English Literature, Psychology and Biology at A-Level. This is my Portfolio! ArchivesCategories |


 RSS Feed
